
")
")
")
")
")
")

")
")


Picture this: me, senior year, prom week, convinced I could save money by doing my nails at home. Easy nail art ideas for beginners….I’d seen some “simple tutorials” on Pinterest, grabbed three shades of purple (don’t ask why), and proceeded to create what looked like a grape crime scene on my fingers. It was… humbling.
Anyway. Flash-forward to today—I still can’t paint a straight line, but I can pull off some surprisingly cute nail art. And I promise, if I can do it, you can definitely do it too.
So whether you’ve never held a dotting tool in your life or you once glued rhinestones to your cuticles and hoped for the best (same), I’ve got you.
Grab your polish and a snack (because I always smudge mine when I get hungry mid-mani), and let’s mess around with some super simple, actually-doable nail art.
☕ 1. The “Oops I Dotted” Mani
If you can dot sauce on a pizza or poke someone on Facebook (wait, do people still do that?), you can nail this one.
You’ll need:
- A bobby pin or toothpick (I used the back of an earring once. It’s fine.)
- 2 contrasting polishes
- A clear top coat
How to:
- Paint your base color and let it dry (seriously—dry dry).
- Dip the round end of your bobby pin into your second color.
- Dot randomly, or in a cute line across the tips.
- Let it chill, then top coat that baby.
Pro tip: It looks artsy even if your dots are kinda weird. Like “modern art” weird. Just own it.
🎨 2. The Lazy Girl French Tip
Not the stiff salon kind. This is like… the French tip’s relaxed cousin who listens to indie music and wears mismatched socks.
You’ll need:
- Your go-to neutral or nude polish
- Any bright color for the tip
- A makeup sponge (yep)
Steps:
- Paint your whole nail the neutral shade.
- Dab a little of the bright color on a sponge.
- Lightly press it on just the tips—it’ll fade a bit like an ombré.
Boom. French, but fun.
And messy? Kinda. But that’s part of the charm.
🌸 3. Tiny Flowers That Don’t Suck
Listen—I never thought I’d say “nail flowers” without gagging, but here we are.
Needed:
- A dotting tool (or… bobby pin again)
- Two shades (petals and center)
- A base color that’s not too wild (unless you want chaos, then full send)
The low-effort method:
- Dot five tiny petals in a circle-ish shape.
- Add a middle dot.
- Done. Admire. Pretend you’re a nail goddess.
It sounds like kindergarten art class, but it actually looks delicate and super cute. I wore this on one hand for a week and nobody questioned it.
🧼 4. Negative Space = Maximum Cool With Minimum Effort
Okay, this is the one I feel weirdly cool doing. It’s trendy, artsy and also… like, 90% bare nail.
You just need:
- Tape or nail stickers (or freehand it if you’re bold)
- A fun color
- A decent top coat
How it goes:
- Place tape in a triangle or stripe shape over the nail.
- Paint over it.
- Peel tape carefully before the polish dries completely.
- Top coat, let it dry, post to IG, ignore your ex’s DM.
Looks designer. Costs literally $0 if you have scotch tape and a beat-up polish lying around.
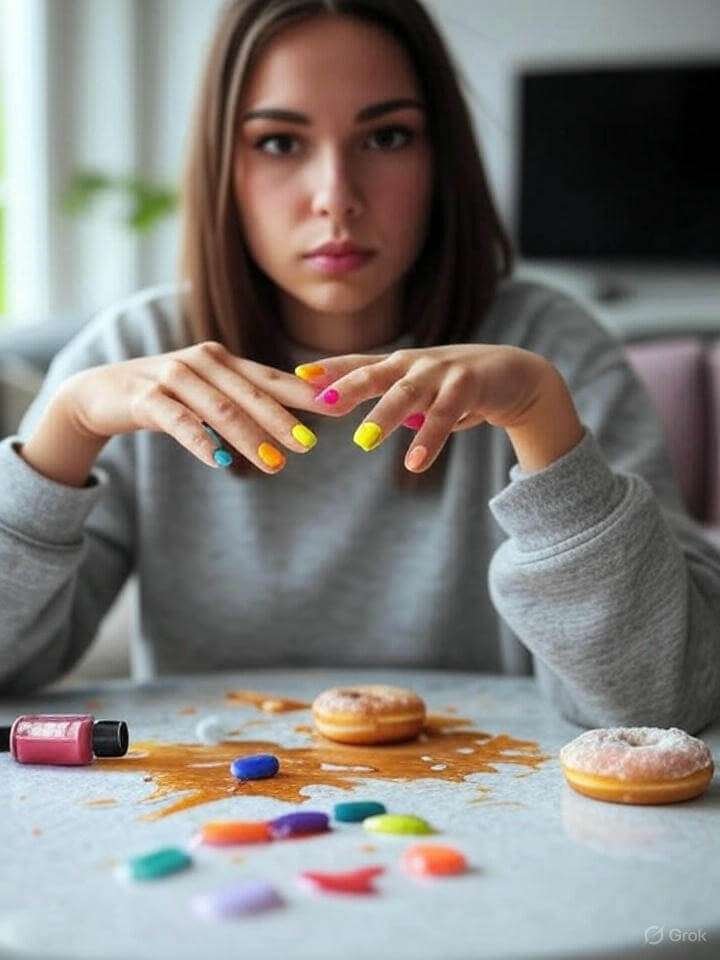
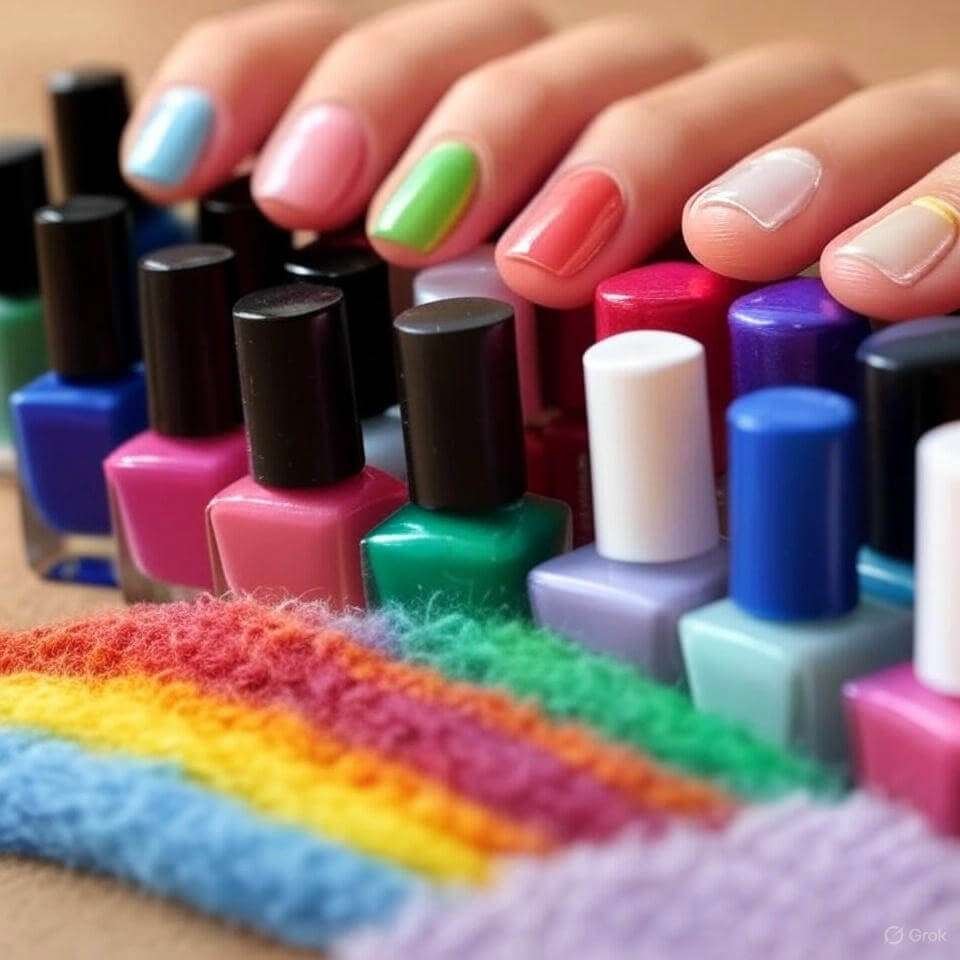
🎈 5. Skittles Mani (But Make It Adult-ish)
Okay. This one’s technically not nail art but whatever, it’s a mood.
What it is:
Each nail = a different color. Like you dipped your hand in a candy jar.
You need:
- 5 colors you vibe with
- No design tools at all (bless)
Paint each nail a different shade. That’s it. Done.
I wear this when I’m bored and need a pick-me-up. It feels like kindergarten nap time and Lisa Frank stickers. And who doesn’t need more of that?
🎢 6. The “I Tried, Okay?” Stripes
These are… very forgiving. Think: “I was trying for edgy minimalism” not “I can’t paint a straight line.”
Tools:
- A thin nail brush or toothpick
- Any two colors
- Top coat to fix your sins
I usually do diagonal lines across one or two nails, not all ten. Adds just enough flair without looking like I’m trying too hard.
Also, when one stripe’s crooked? Call it “intentional.”
☁️ 7. Cloud Nails (But Like, Baby Clouds)
This one shocked me with how not-awful it looked.
What you need:
- A sky-blue or lilac base
- White polish
- A dotting tool or cotton swab
Method:
- Paint your base and let it dry (ugh, the waiting)
- Dot three blobs in a row, add a few smaller ones to round it out
- Boom. Tiny clouds.
Looks kinda dreamy. Like, vaporwave meets sleepy Sunday. 10/10 for cozy vibes.
🍉 8. Fruit Slice Tips (They’re Cheeky, Okay?)
I once tried strawberries. It looked like tiny red blobs with green hats. Still cute though.
Start with:
- A pink or red tip
- Add little green or white lines for rind
- Dot some black dots = seeds
Now you’ve got watermelon nails. Bonus if you hum Lizzo while painting them. “Feeling good as hell” indeed.
💬 But Wait… What About Shaky Hands?? Try easy nail art ideas for beginners
I gotchu. My hands shake like I’m on my fifth espresso sometimes (spoiler: I usually am), so here’s what helps:
- Rest your hand on a table—like, fully anchored.
- Don’t rush. Literally just don’t.
- Use lighter strokes. It’s nail polish, not drywall.
Also: clean-up pens exist, and they’re magic. Or just dip a tiny brush in nail polish remover. Swipe away your oopsies and pretend it never happened.
🧃 Random Tips for easy nail art ideas for beginners:
- Paint with your non-dominant hand first. Trust me.
- If your design sucks, say it’s “abstract.” Boom. Artist.
- Always keep snacks nearby. You will get hungry mid-dry.
🚀 Nail Art at Home Can Be a Mess… and That’s the Fun Part
You don’t need pro skills. You don’t need fancy tools (again, I’ve used the back of a pen cap more times than I care to admit). And you definitely don’t need to be a perfectionist.
Start with one design. Laugh at how weird your first one looks. Then try again. Suddenly it’s 2 AM and your hands look like you dipped them in confetti—but hey, you made art.
That’s kinda the point, right?
Links to Explore:
")
")
")
")

