
")
")
")
")
")
")

")
")


Okay. Let’s talk nail art gel.
Because apparently, it’s not just “paint and go” like I thought. It’s like… an entire situation. A lifestyle, even. And don’t let the perfect little Insta reels fool you. They make it look so easy—like tap tap, sparkle sparkle, boom, salon-worthy nails. Lies.
Lemme tell you what really happened.
I was sitting at my kitchen table, a half-eaten bag of Hot Cheetos next to me (not smart) and a vision board in my head that screamed, You’re gonna do a cute lil galaxy design with stars and moons and everything, girl. It was going to be my moment. Nail art gel was gonna elevate me. I’d finally feel like one of those girls who have their life together—who meal prep and use glass containers and don’t have seven socks with no matches.
But within 20 minutes, I had:
- A streak of navy gel in my hair
- One half-cured thumb sticking to my phone screen
- And an inexplicable urge to cry over a missing dotting tool (which, btw, I found later… stuck to my butt)
What Even Is Nail Art Gel?
Okay okay—before we spiral again—here’s the actual scoop.
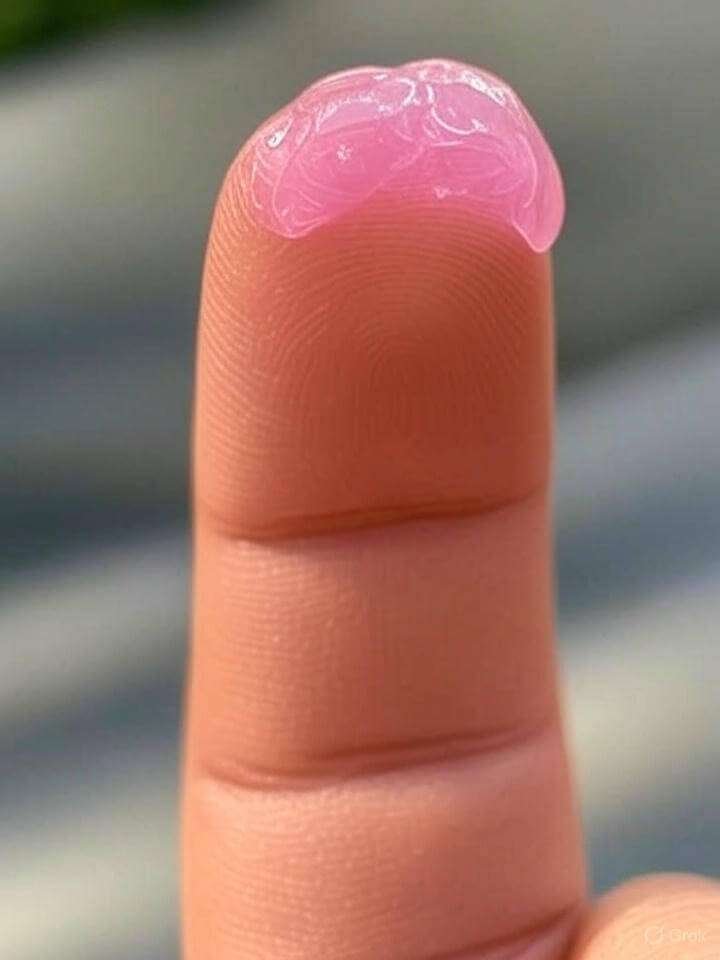
Nail art gel is a thicker, pigmented gel (duh) used to draw or paint lil designs on your nails. Not like your regular polish. This stuff doesn’t dry until you cure it under UV/LED light, which sounds like a blessing until you’re holding your breath hoping your shaky hands didn’t ruin that tiny heart you just drew with a toothpick.
You can use it for flowers, swirls, stars, those weird but kinda cool abstract blobs, French tips, lettering, and whatever’s trending on Pinterest this week.
There are layers to this game.
H2: Stuff I Wish Someone Told Me Before I Started Using Nail Art Gel
1. Don’t skip base coats
I thought this was optional. It is not. You need a solid foundation so your gel design doesn’t lift or bubble or float into a different dimension.
2. That brush you’re using? It matters.
I tried to use an old eyeliner brush once. No. Just no. Get an actual nail art brush set—I got mine off Amazon for like $9 and they’re life.
(Bonus Tip: Flat ones for shading, skinny ones for lines, dotting tools for—you guessed it—dots.)
3. Your UV lamp isn’t magic.
Listen, I thought I could use my desk lamp at one point. Rookie mistake. If you’re serious about nail art gel, get a real UV/LED lamp. Mine is pink and shaped like a cat paw. It sparks joy.
4. Cure between every little step.
Draw a flower? Cure it. Add the center dot? Cure it. Outline that dot with silver glitter? Yep—cure again. You’ll be there for a while. Bring snacks.
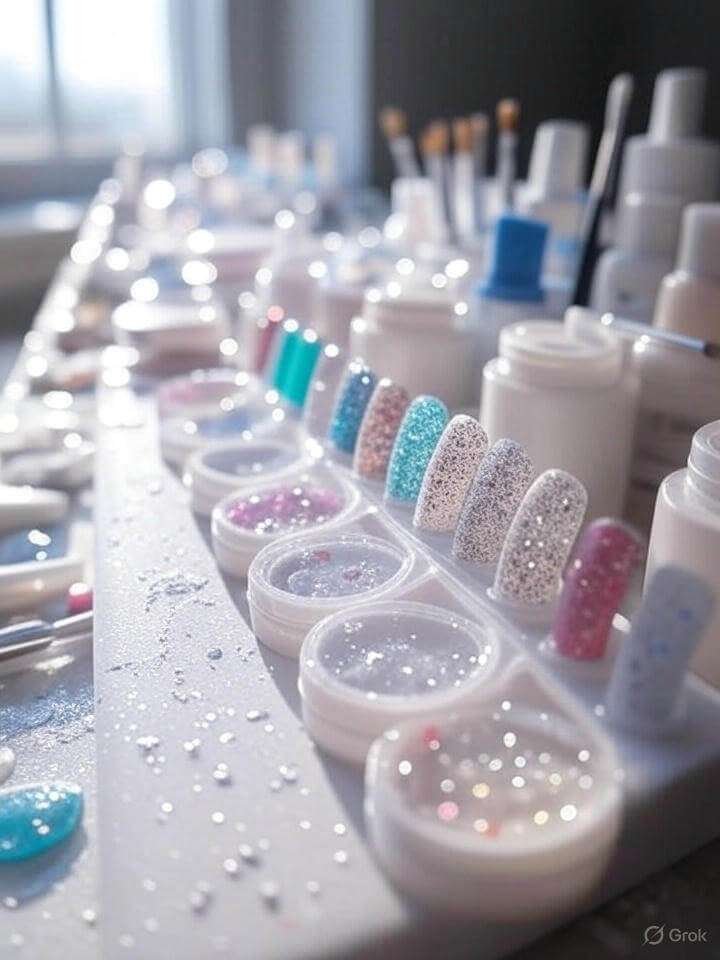
H2: My Fave Gel Nail Art Products (No Gatekeeping Here)
I’ve tried too many. Some made my nails peel like old wallpaper. Others? Obsessed. So here’s my holy grail lineup:
🖌 Beetles Gel Nail Art Liner Set
They’re thin, pigmented, and the brush is built into the bottle. Great for shaky-hand girlies like me.
🌈 Modelones Colored Gel Pots
Perfect for when you wanna go wild and mix custom colors or do those Instagram-y swirly looks. Comes in a tiny pot that will get stuck under your couch at some point.
🔥 Makartt Nail Art Brush Kit
Cheap, cheerful, doesn’t shed like your cat.
💡 SUNUV UV Lamp
Honestly kinda huge, but I can fit both hands in. Cuts down drying time and awkward finger cramps.
(Optional but highly recommended: a tiny fan to air out the toxic cloud you just summoned with the base coat.)
H2: My First Gel Nail Art Attempt (Spoiler: Chaos)
I wanted minimalist black lines on a nude base. Simple, right?
Wrong.
I made the lines too thick. Then tried to “thin them out” with a brush dipped in acetone and made it worse. Cured it anyway out of spite. Then added gold foil to “save it”—like a band-aid on a cracked iPhone screen. It ended up looking like a haunted road map, but my mom said it was “abstract.”
I wore them proudly for two whole days before they started peeling. Still counts.
H2: Pro Tips From Someone Who’s Messed Up… A Lot
✦ Always clean your brush between colors
Or you’ll end up with mud-brown glitter smudges that weren’t invited to this party.
✦ Keep a lint-free wipe nearby
Because even the tiniest speck of fuzz will ruin that galaxy you just painted. Curse you, hoodie sleeve.
✦ Do both hands if you can
Yes, it’s annoying. Yes, it takes forever. But having one hand snatched and the other looking like it lost a fight is just sad.
✦ Don’t try detailed art after 11PM
Your hands are tired. Your brain is offline. That flower will look like a fried egg.
H2: Gel Nail Art vs. Regular Polish — The Truth
People say gel lasts longer. True.
People say it’s shinier. Also true.
People say it’s harder to mess up… LOL.
With gel, you get time to play and correct mistakes before curing. But once you cure? That’s it. The mistake is immortalized in plastic forever.
Also, removing it? You better commit—because that soak-off sesh will test your patience and your will to live. Especially if you didn’t file off the top coat first (guilty).
H2: Where to Get Inspo (Besides Just Doom-Scrolling Instagram)
- Pinterest boards that haven’t been updated since 2017 but still slap
- TikTok tutorials (watch with caution—they make it look TOO easy)
- Your weird dreams. One time I dreamed my nails were shaped like spoons. Haven’t tried it. Yet.
H2: Final Thoughts (If My Gel-Stained Soul Has Any Left)
So yeah. Nail art gel?
Messy. Stressful. Weirdly meditative. Kinda like making pancakes from scratch or assembling IKEA furniture without crying.
But also… magical. When it works, it works. You feel like a sorcerer with a tiny brush. And when someone compliments your nails? Ohhh baby. That serotonin boost hits hard.
Would I recommend it?
Absolutely. But only if you’re okay with glitter in your carpet and probably gluing at least two fingers together in the process.
")
")
")
")
")
")
.)